Pop Shop pics & DIY Corks
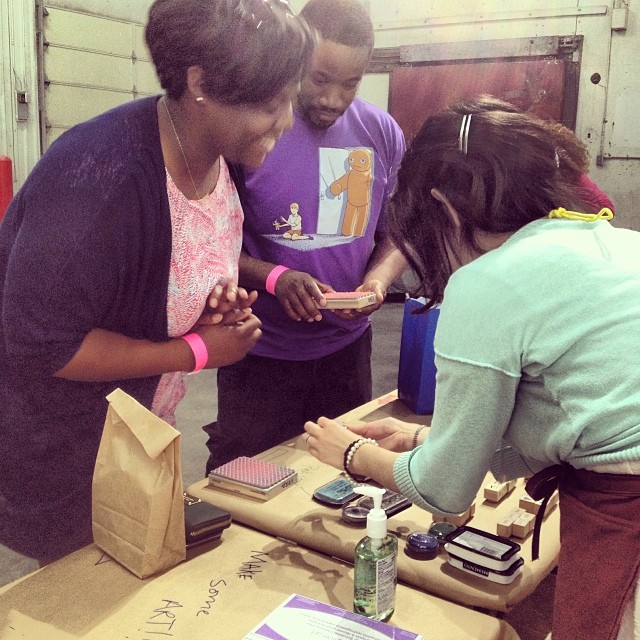
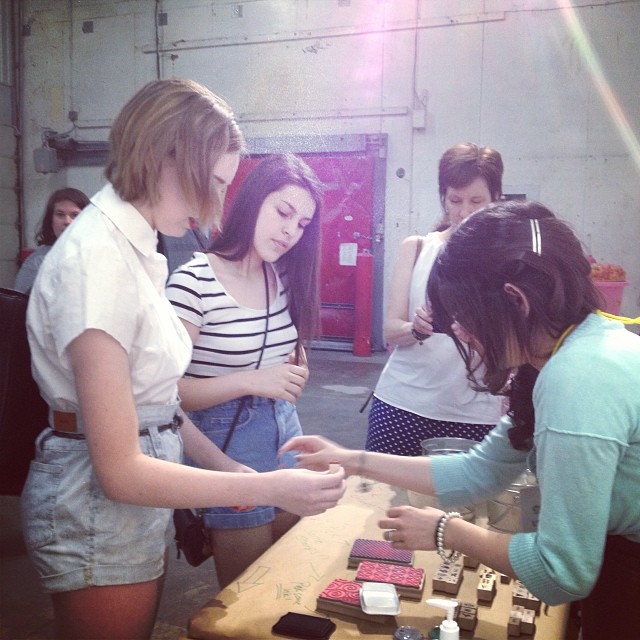
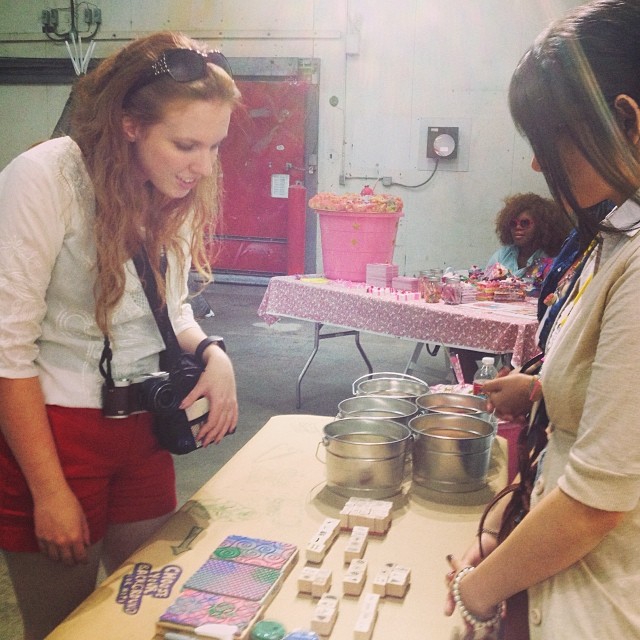
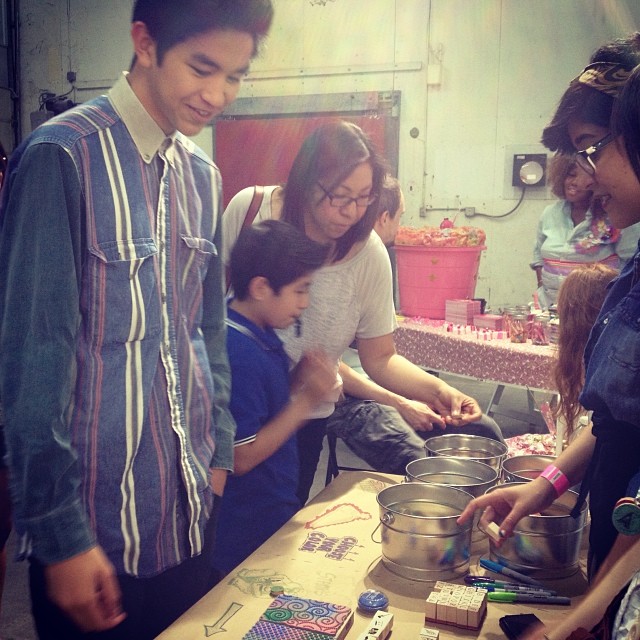
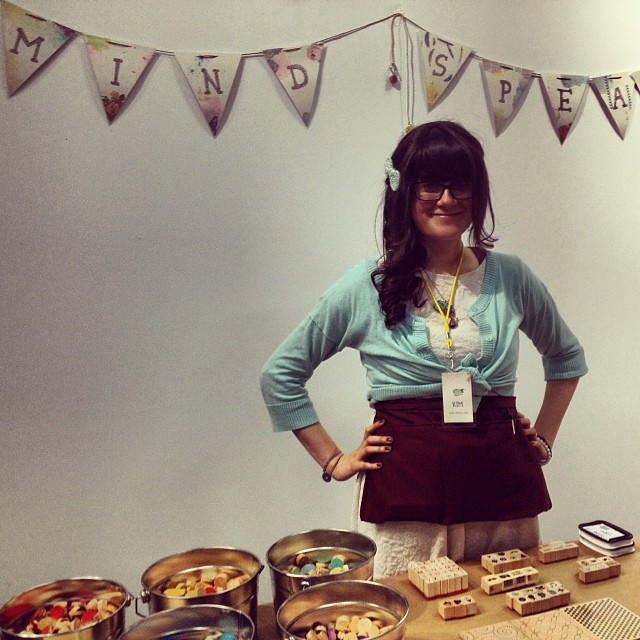
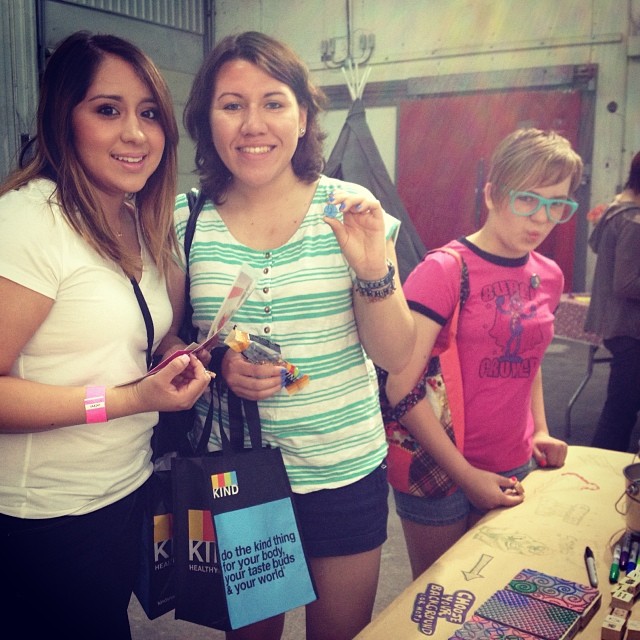
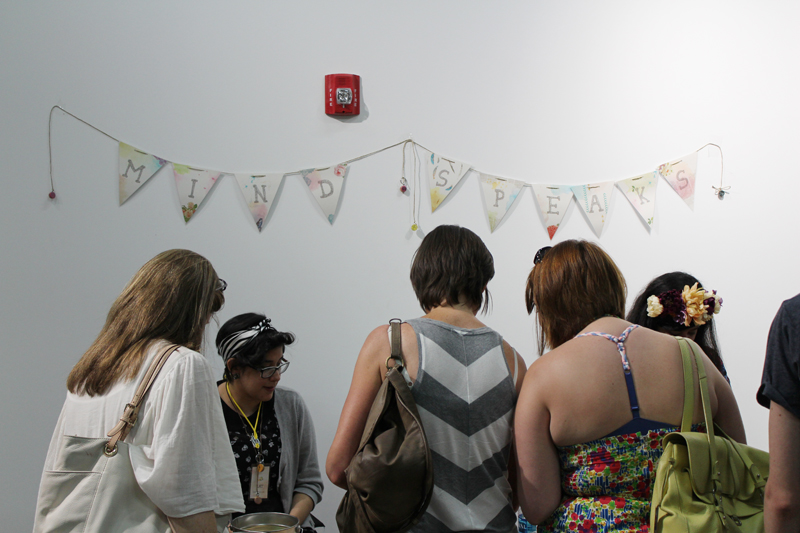
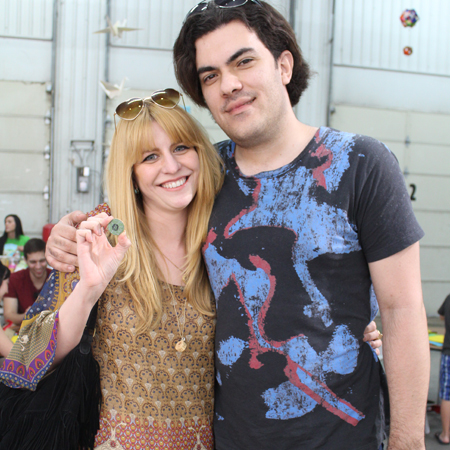
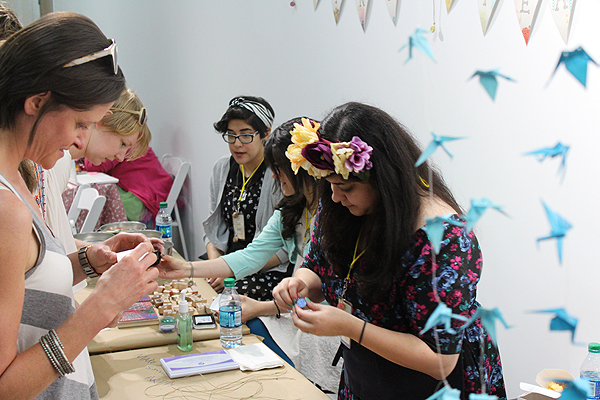
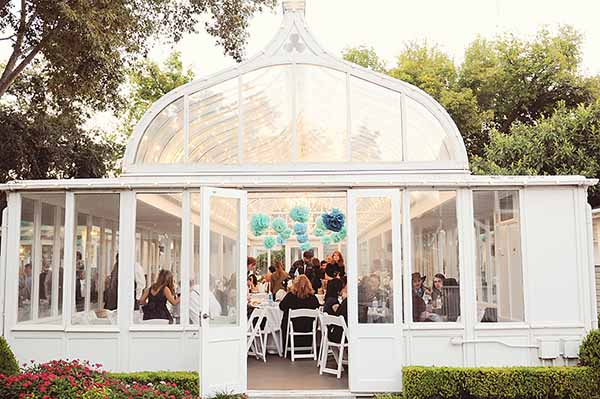
This weekend was amazing, we went out and did our very first workshop at Pop Shop Houston. We made over 1,600 cork discs for some stamping fun. The workshop was free and we only asked people to be creative! We had a HUGE turn out, we made over 600 cork creations with people and got a lot of feedback with fellow local artists. If you never checked out Pop Shop Houston, be sure to check out their site over here. They really did put together an amazing craft and design fair!
Houston really is the best~!!

You can view more photos here. Just in case you missed out on the fun here is the tutorial for those who want to do it at home!
Supplies
– Regular Wine Corks (not wax corks)
– Acrylic Paint – various colors
– Stamps
– Quick drying pigment ink pad (dark and light colors)
– Saw & vice (make sure an adult is helping)
– Safety gloves and glasses (cork dust can get in your eyes)
– Sand paper
– Screw posts
– Twine or key rings
Optional
– Pipe cutter (ONLY if you have some wax or plastic corks to cut)
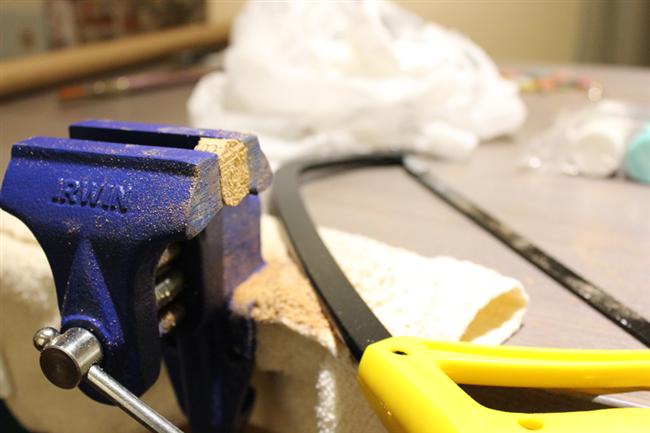
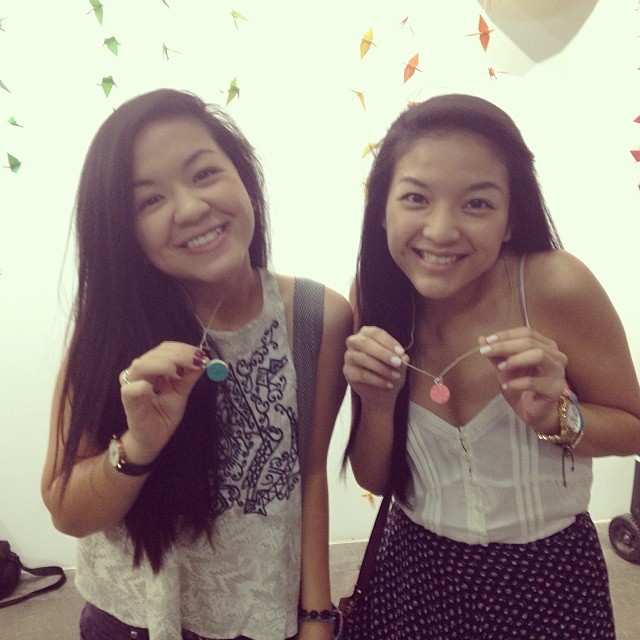
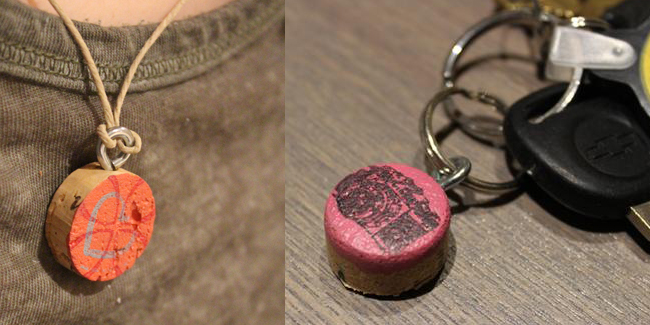
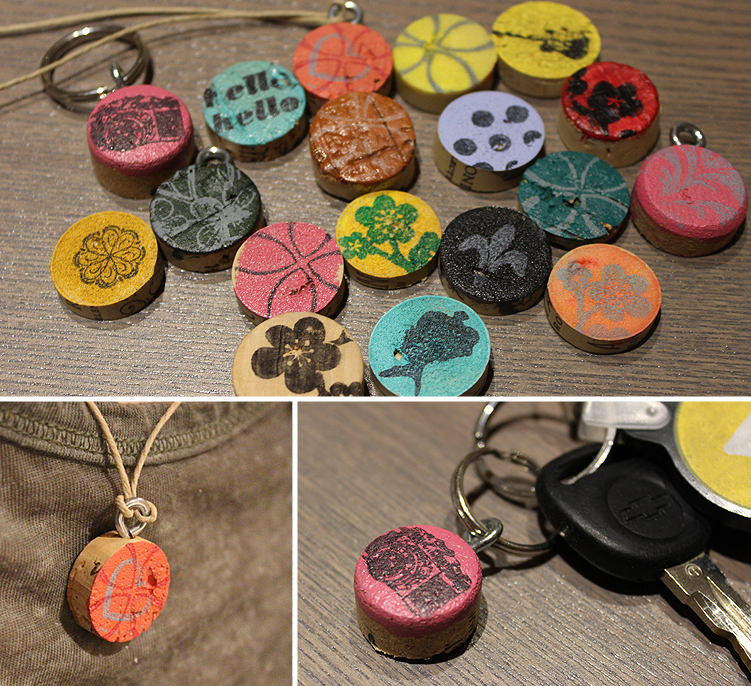
We start by sawing the corks into discs, 1 cork will usually make 4-5 discs. This is our main base for stamping. We use our sand paper and smooth down the side we want to paint on. You could just simply dye the corks but that can take up dying time and resources – we found it easier to use acrylic paint instead! We like acrylic because of its quick drying action. Drying usually takes about 15-20 minutes. After painting one side of our piece we let that dry. Our next step is the stamping! We love using a quick drying pigment ink pad. You can use large flourish stamps or simply use a small letter stamp to make your very own monogram piece. The pigment ink only takes a few minutes to dry! To finish the piece, we like using screw posts into the cork to allow us to string the cork or even make it into a key chain. The screw posts are so easy to put in the corks!
Be creative and use different colors of paint and inks! There is no right or wrong way to make these and they make the perfect gift to swap with friends.
Tips:
– Old corks tend to be very dry and may fall apart when sawing. Use fresh corks or “young” corks.
– Use a blending gel to help mix white with your color paint – the gel makes the blending smoother. Add white to your colors to make dreamy pastels!!
– Use more than one stamp and ink pad color! You can layer by adding a light color stamp with a darker color stamp on top! We did something similar on our heart pendant.
– You can also leave corks un-painted for a more natural look!
Corks are so versatile and so easy to work with!
This post was written by:
 MIJA VERA - (view all posts by Mija)
Mija has been a designer for the last 15 years. She is a paper obsessed fiend and loves working on new projects while listening to her kids and Maine Coon cat chatter around the house. You can email her at mija@mind-speaks.com


 Email
Email Twitter
 Facebook
 YouTube
 Instagram
 Bloglist Me