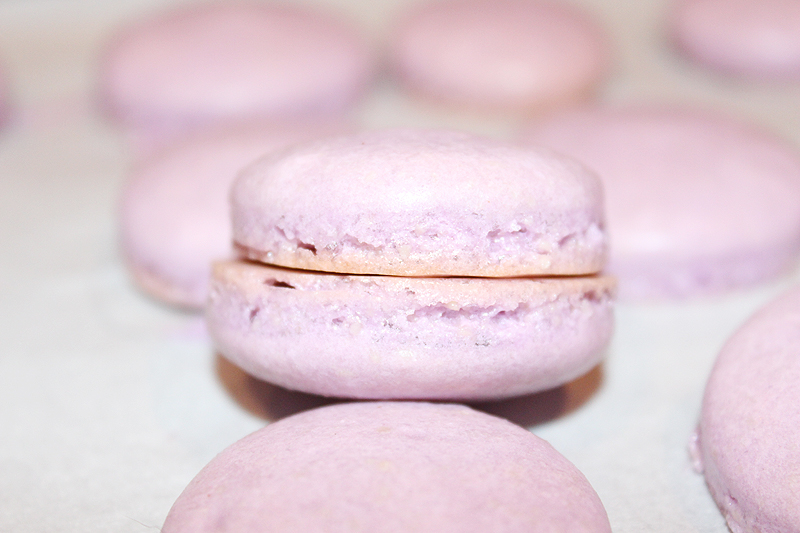
Macarons, are these cute European cookies that are starting to show up everywhere!! I attempted these suckers a long time ago but never really got the hang of it but recently after purchasing some from bakeries I knew I wanted to master theses puppies.
I had to practice a few times with different flavors but here is the recipe I tweaked just for you guys! Lets begin!
Tools you will need:
- Mixer
- Scraper
- Piping bag with a round tip
- Mixing bowls
- Sifter
- Parchment paper
Ingredients you will need:
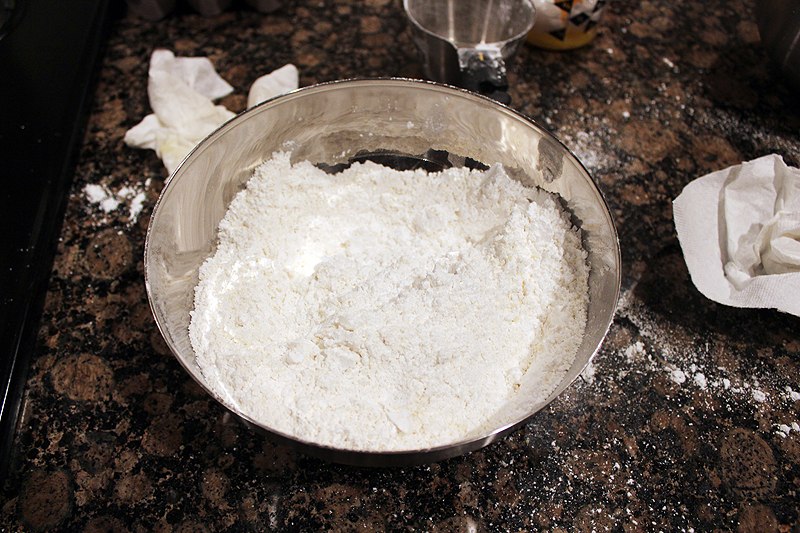
- 2 Cups powdered sugar
- 1 cup Almond Flour
- 3 eggs whites
- 1/4 cup sugar
- A pinch of salt
- Flavoring
Cookies&Cream flavor:
Add 25 grams of ground teddy grams (you can use any type of chocolate wafer but I prefer saving a couple of cents with using teddy grams.
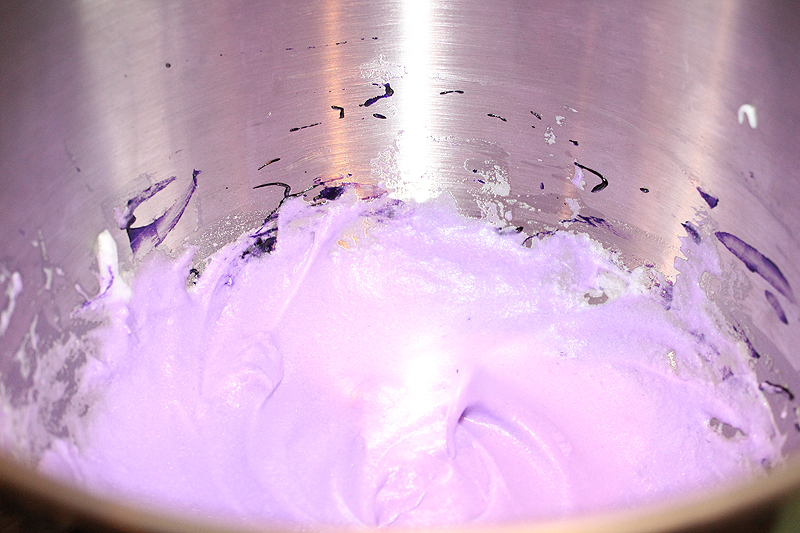
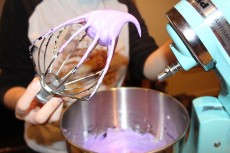
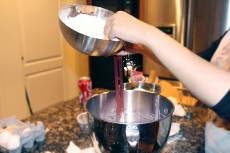
1. You’ll start by adding your eggs, sugar and salt to the mixer. (If your not making cookies & cream add any color food coloring to the meringue. I found out that using powdered food coloring makes a much vibrant color.) Beat on medium high until the egg whites become stiff. While that is whipping sift powdered sugar, almond flour (and chocolate wafer for cookies & cream) together making sure to discard any large lumps.
2. Next pour the dry mixture into the meringue now this is the tricky part the mixing part is when it can easily mess up but don’t fret it takes practice and you will eventually know what kind of texture to want just by looking at it. For the mixture to want to keep mixing till you get a lava type mixture you want it to you drop down smooth but still hold its shape.
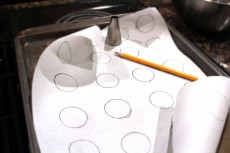
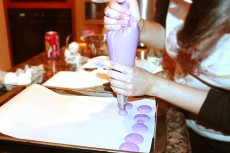
3. Piping time!! Now I have tried using wax paper instead of parchment paper but the just didn’t work out so I would recommend splurging a little on parchment paper. when it comes to piping I found out drawing circles on the paper helps them be somewhat the same size. Now I used a size 8 round tip you can use a large cup to hold your pastry bag make sure to have the tip folded so it doesn’t start coming out into the cup.
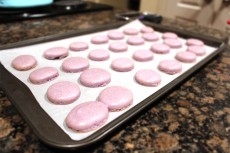
4. All most done!!! Let these puppies rest on the counter till they are no longer sticky to the touch. (usually 30 mins) At this time preheat the oven to 300 degrees F. (Every oven is different I usually let them cook for 12 mins then keep checking on them till the pop off the parchment paper by them selves which indicates that they are done!! (I usually takes me 20 or so minutes)
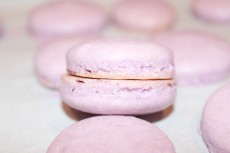
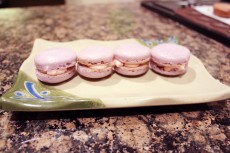
Now the reason why I love these delicate cookies is that the combinations are endless you can fill them up with so many different butter creams or jams.
Oreo Filling
1 Stick of soften butter
1 cup of Powdered sugar
2 Oreo cookies
* Cream butter with the powdered sugar once its fully mixed break up the Oreo and mix in.
Mixed Berry Filling
1 Stick of soften butter
1 cup of powdered sugar
2 Tsb Jam ( I used
Four fruits bonne maman jam)
*Cream butter with the powdered sugar once it fully mixed spoon in jam and mix well.
This post was written by:
 KAT VERA - (view all posts by Kat)
Kat is a lead pastry chef. When she isn’t in the kitchen she’s traveling space and time with Doctor Who and solving mysteries with Sherlock. Email her at kat@mind-speaks.com
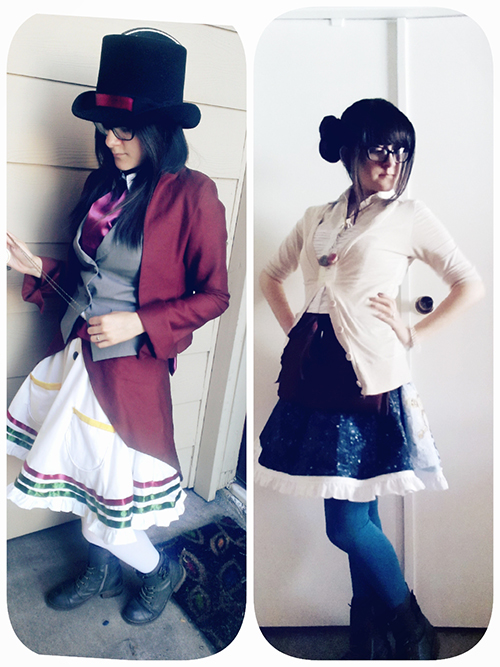
I’ve only dabbled in sewing clothing here and there, last October I actually tried my hand at making my costume. I was happy with the results but my pattern/sewing skills could definitely use some work.
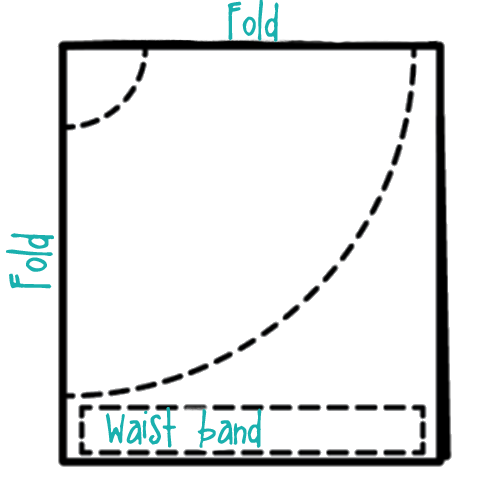
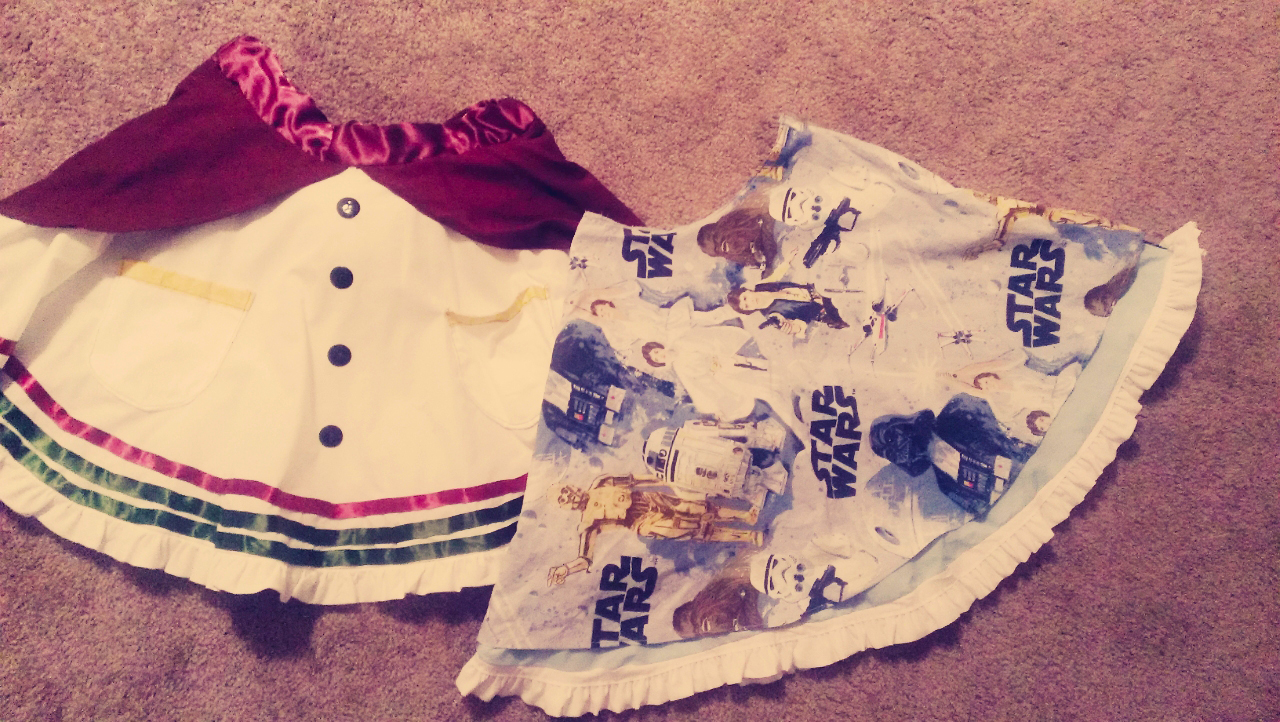
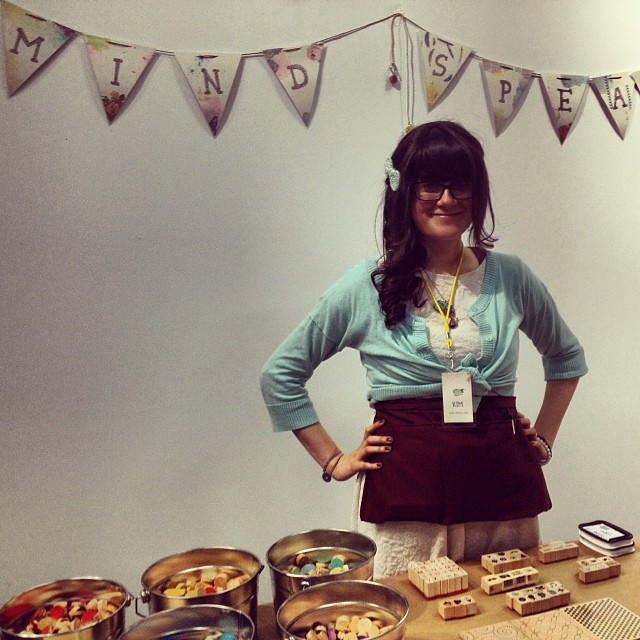
 If you’ve read our recent posts you will have noticed that Mind-Speaks had the honor of being apart of a craft fair known as Pop Shop. I took this upon myself to create a half apron for the occasion and also a circle skirt for Sunday, it was Star Wars Day so I of course had to make something to celebrate. However, I did it the night before and didn’t have enough fabric so I know I could have done better if I had more time. Circle skirts sit high on the waist, but with my Halloween costume I made it sit right on my hips. I believe this skirt took 2 yards to make, the other one was probably less than a yard. If you fold it just right you will be able to get the full skirt without any seams. I on the other keep making the same mistake and always get two halves.
 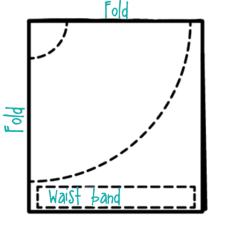 Hopefully the next time I attempt this pattern I will get it right. Not that the seams get in the way, it just means you would have an extra step of sewing the two halves together. For the Star Wars skirt, seeing as I didn’t have enough fabric, I had to use a different one for the front half.
TIP: Buy trim in bulk, it’s annoying to have to make your own, but sometimes you have to. Kudos to you if you already do. :3
I’m terrible at making patterns, so this part is always the worse for me. Along with cutting the pattern out so make sure your rotary tool is sharpened. This video helped me a lot when making my pattern. Circle skirts are really fun to wear, so I know you will have fun making/wearing one. That’s all I have for this entry. Until next time…
Thanks for reading and commenting.

This post was written by:
 KIM VERA - (view all posts by Kim)
Kim works as a museum Copywriter and helps out with events from time to time. When she isn’t working or blogging, she is probably off taking a nap. Feel free to email her at kim@mind-speaks.com
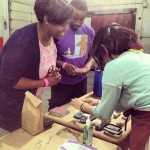
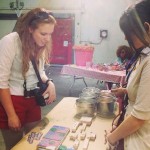
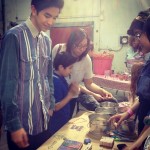
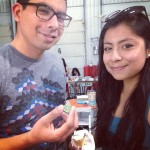
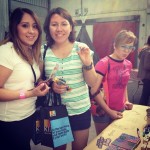
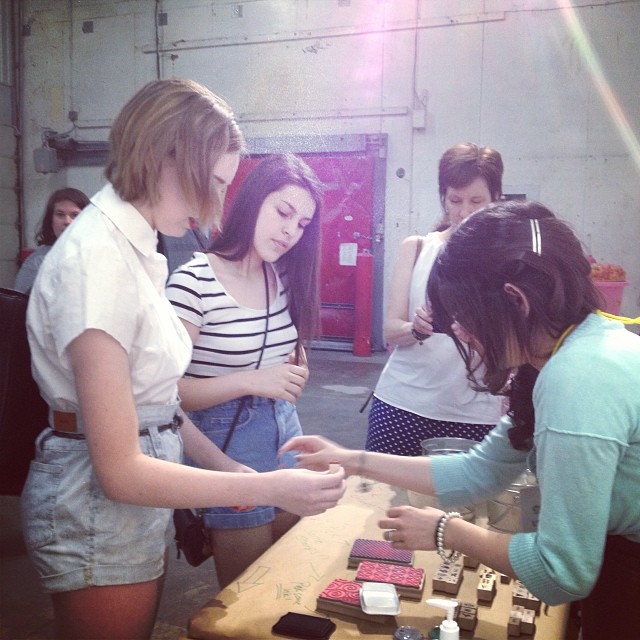
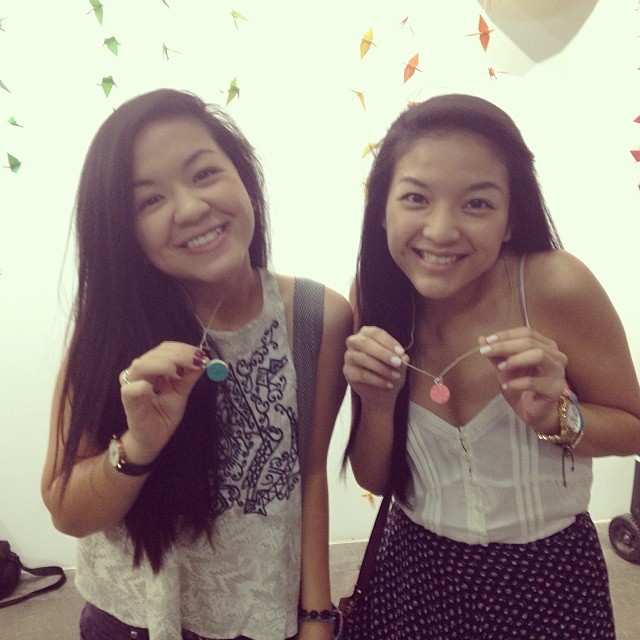
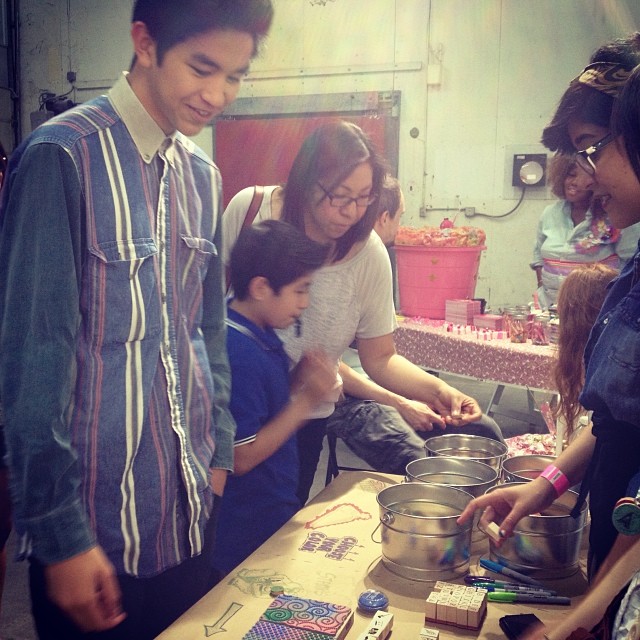
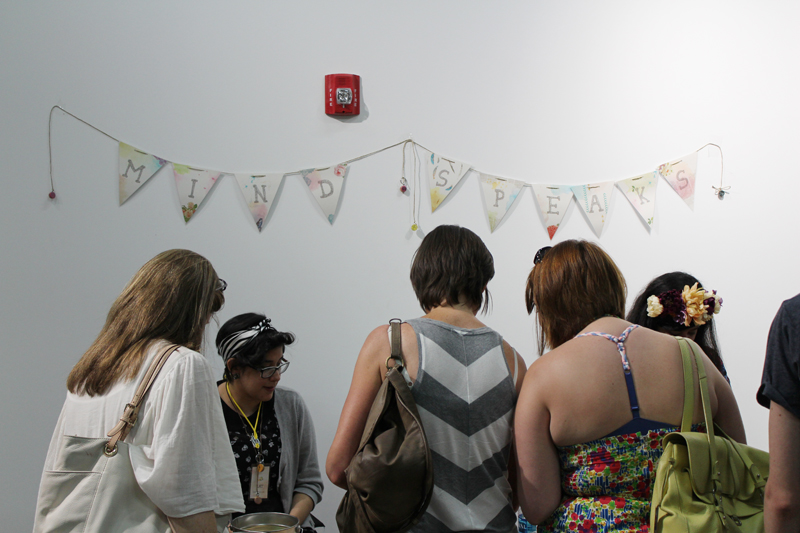
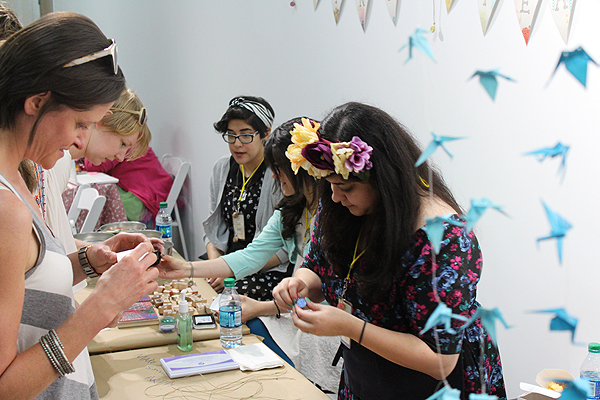
This weekend was amazing, we went out and did our very first workshop at Pop Shop Houston. We made over 1,600 cork discs for some stamping fun. The workshop was free and we only asked people to be creative! We had a HUGE turn out, we made over 600 cork creations with people and got a lot of feedback with fellow local artists. If you never checked out Pop Shop Houston, be sure to check out their site over here. They really did put together an amazing craft and design fair!
Houston really is the best~!!


You can view more photos here. Just in case you missed out on the fun here is the tutorial for those who want to do it at home!
Supplies
– Regular Wine Corks (not wax corks)
– Acrylic Paint – various colors
– Stamps
– Quick drying pigment ink pad (dark and light colors)
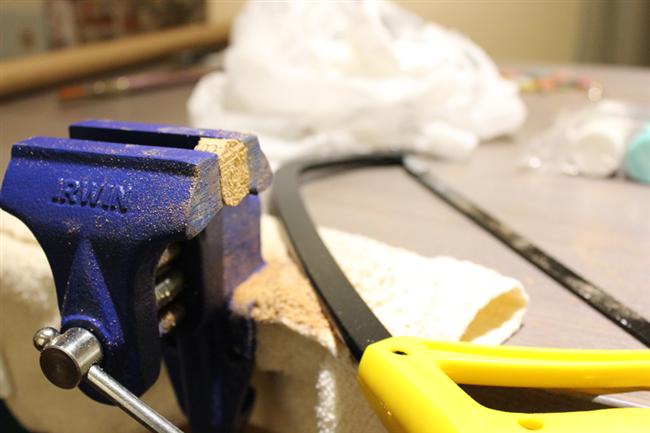
– Saw & vice (make sure an adult is helping)
– Safety gloves and glasses (cork dust can get in your eyes)
– Sand paper
– Screw posts
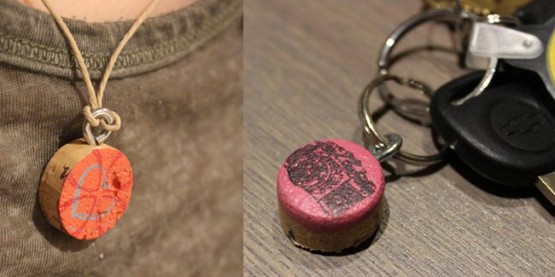
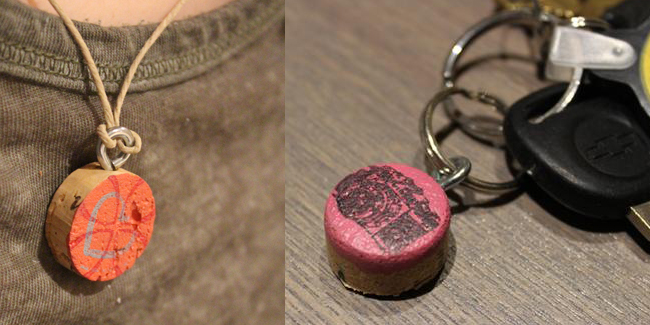
– Twine or key rings
Optional
– Pipe cutter (ONLY if you have some wax or plastic corks to cut)
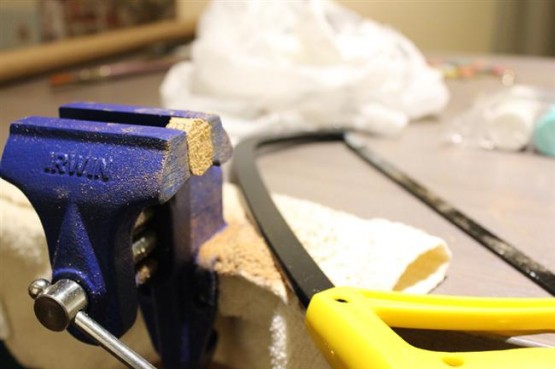
We start by sawing the corks into discs, 1 cork will usually make 4-5 discs. This is our main base for stamping. We use our sand paper and smooth down the side we want to paint on. You could just simply dye the corks but that can take up dying time and resources – we found it easier to use acrylic paint instead! We like acrylic because of its quick drying action. Drying usually takes about 15-20 minutes. After painting one side of our piece we let that dry. Our next step is the stamping! We love using a quick drying pigment ink pad. You can use large flourish stamps or simply use a small letter stamp to make your very own monogram piece. The pigment ink only takes a few minutes to dry! To finish the piece, we like using screw posts into the cork to allow us to string the cork or even make it into a key chain. The screw posts are so easy to put in the corks!
Be creative and use different colors of paint and inks! There is no right or wrong way to make these and they make the perfect gift to swap with friends.
Tips:
– Old corks tend to be very dry and may fall apart when sawing. Use fresh corks or “young” corks.
– Use a blending gel to help mix white with your color paint – the gel makes the blending smoother. Add white to your colors to make dreamy pastels!!
– Use more than one stamp and ink pad color! You can layer by adding a light color stamp with a darker color stamp on top! We did something similar on our heart pendant.
– You can also leave corks un-painted for a more natural look!
Corks are so versatile and so easy to work with!
This post was written by:
 MIJA VERA - (view all posts by Mija)
Mija has been a designer for the last 15 years. She is a paper obsessed fiend and loves working on new projects while listening to her kids and Maine Coon cat chatter around the house. You can email her at mija@mind-speaks.com


 Email
Email Twitter
 Facebook
 YouTube
 Instagram
 Bloglist Me